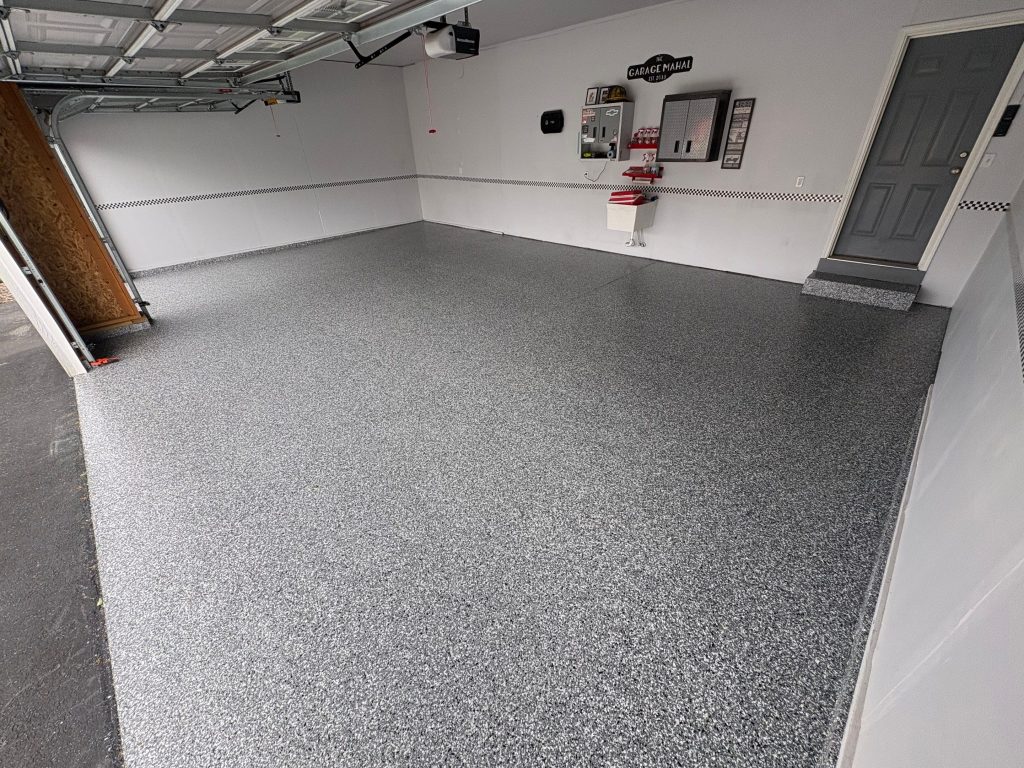
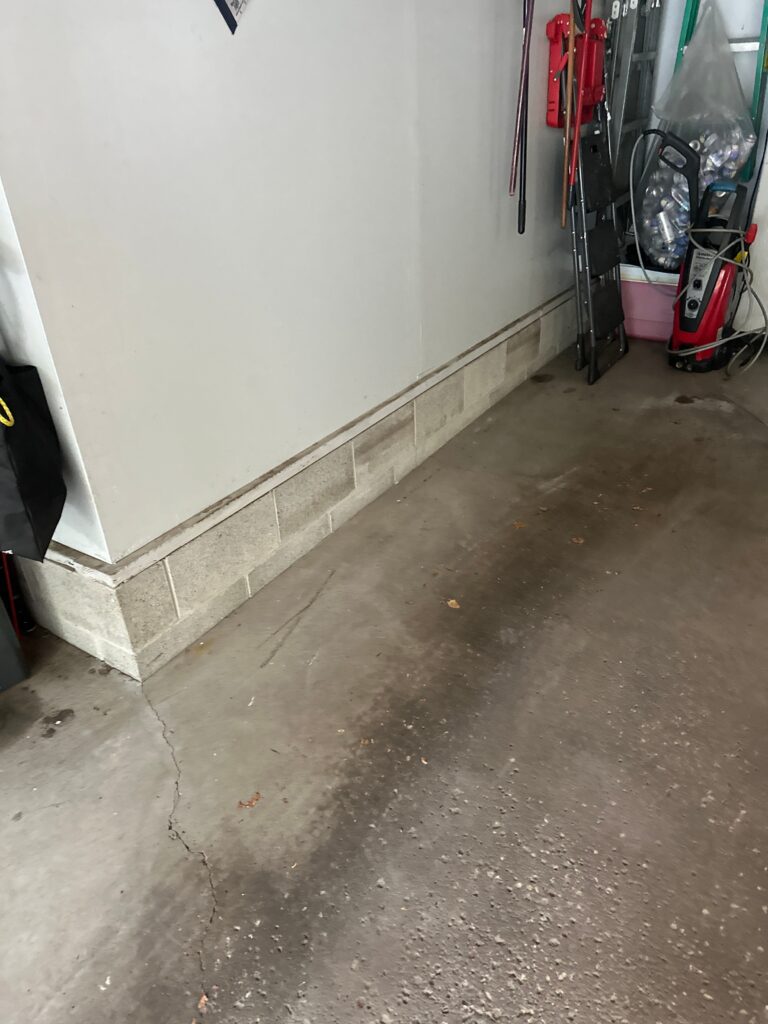
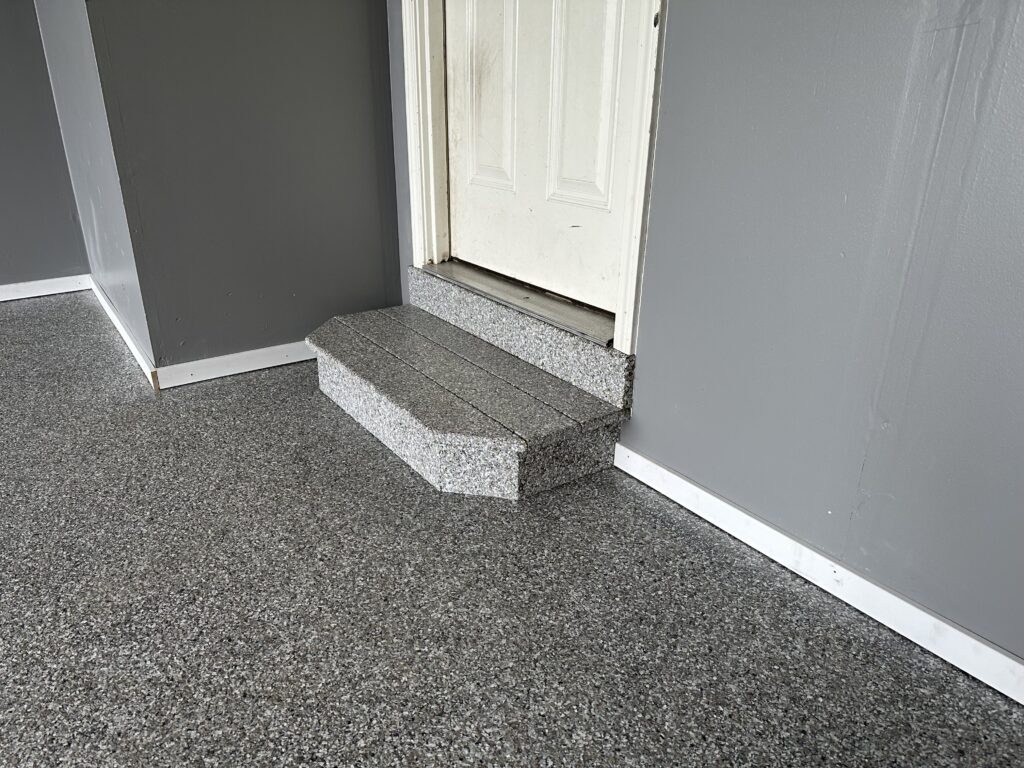
The classic flake finish for a better-looking garage. Protect your concrete from road salt, winter moisture, and everyday wear with a floor designed around your space. Flake adds texture, and we include a slip-resistant additive in the topcoat to help improve traction.
Flake is our most commonly chosen garage floor style. A full broadcast of decorative flakes gives the floor its blended color and pattern, finished with a protective clear topcoat.
Standard flake
Our most popular garage choice. Its more varied, speckled appearance helps disguise everyday dirt, dust, and small debris between cleanings—a practical fit for a working garage.
Premium flake
A finer, more uniform blend for a smoother-looking appearance. Choose premium when you prefer a more subtle visual texture. We’ll show you both options so you can compare the look in person.
Protect the concrete beneath it.
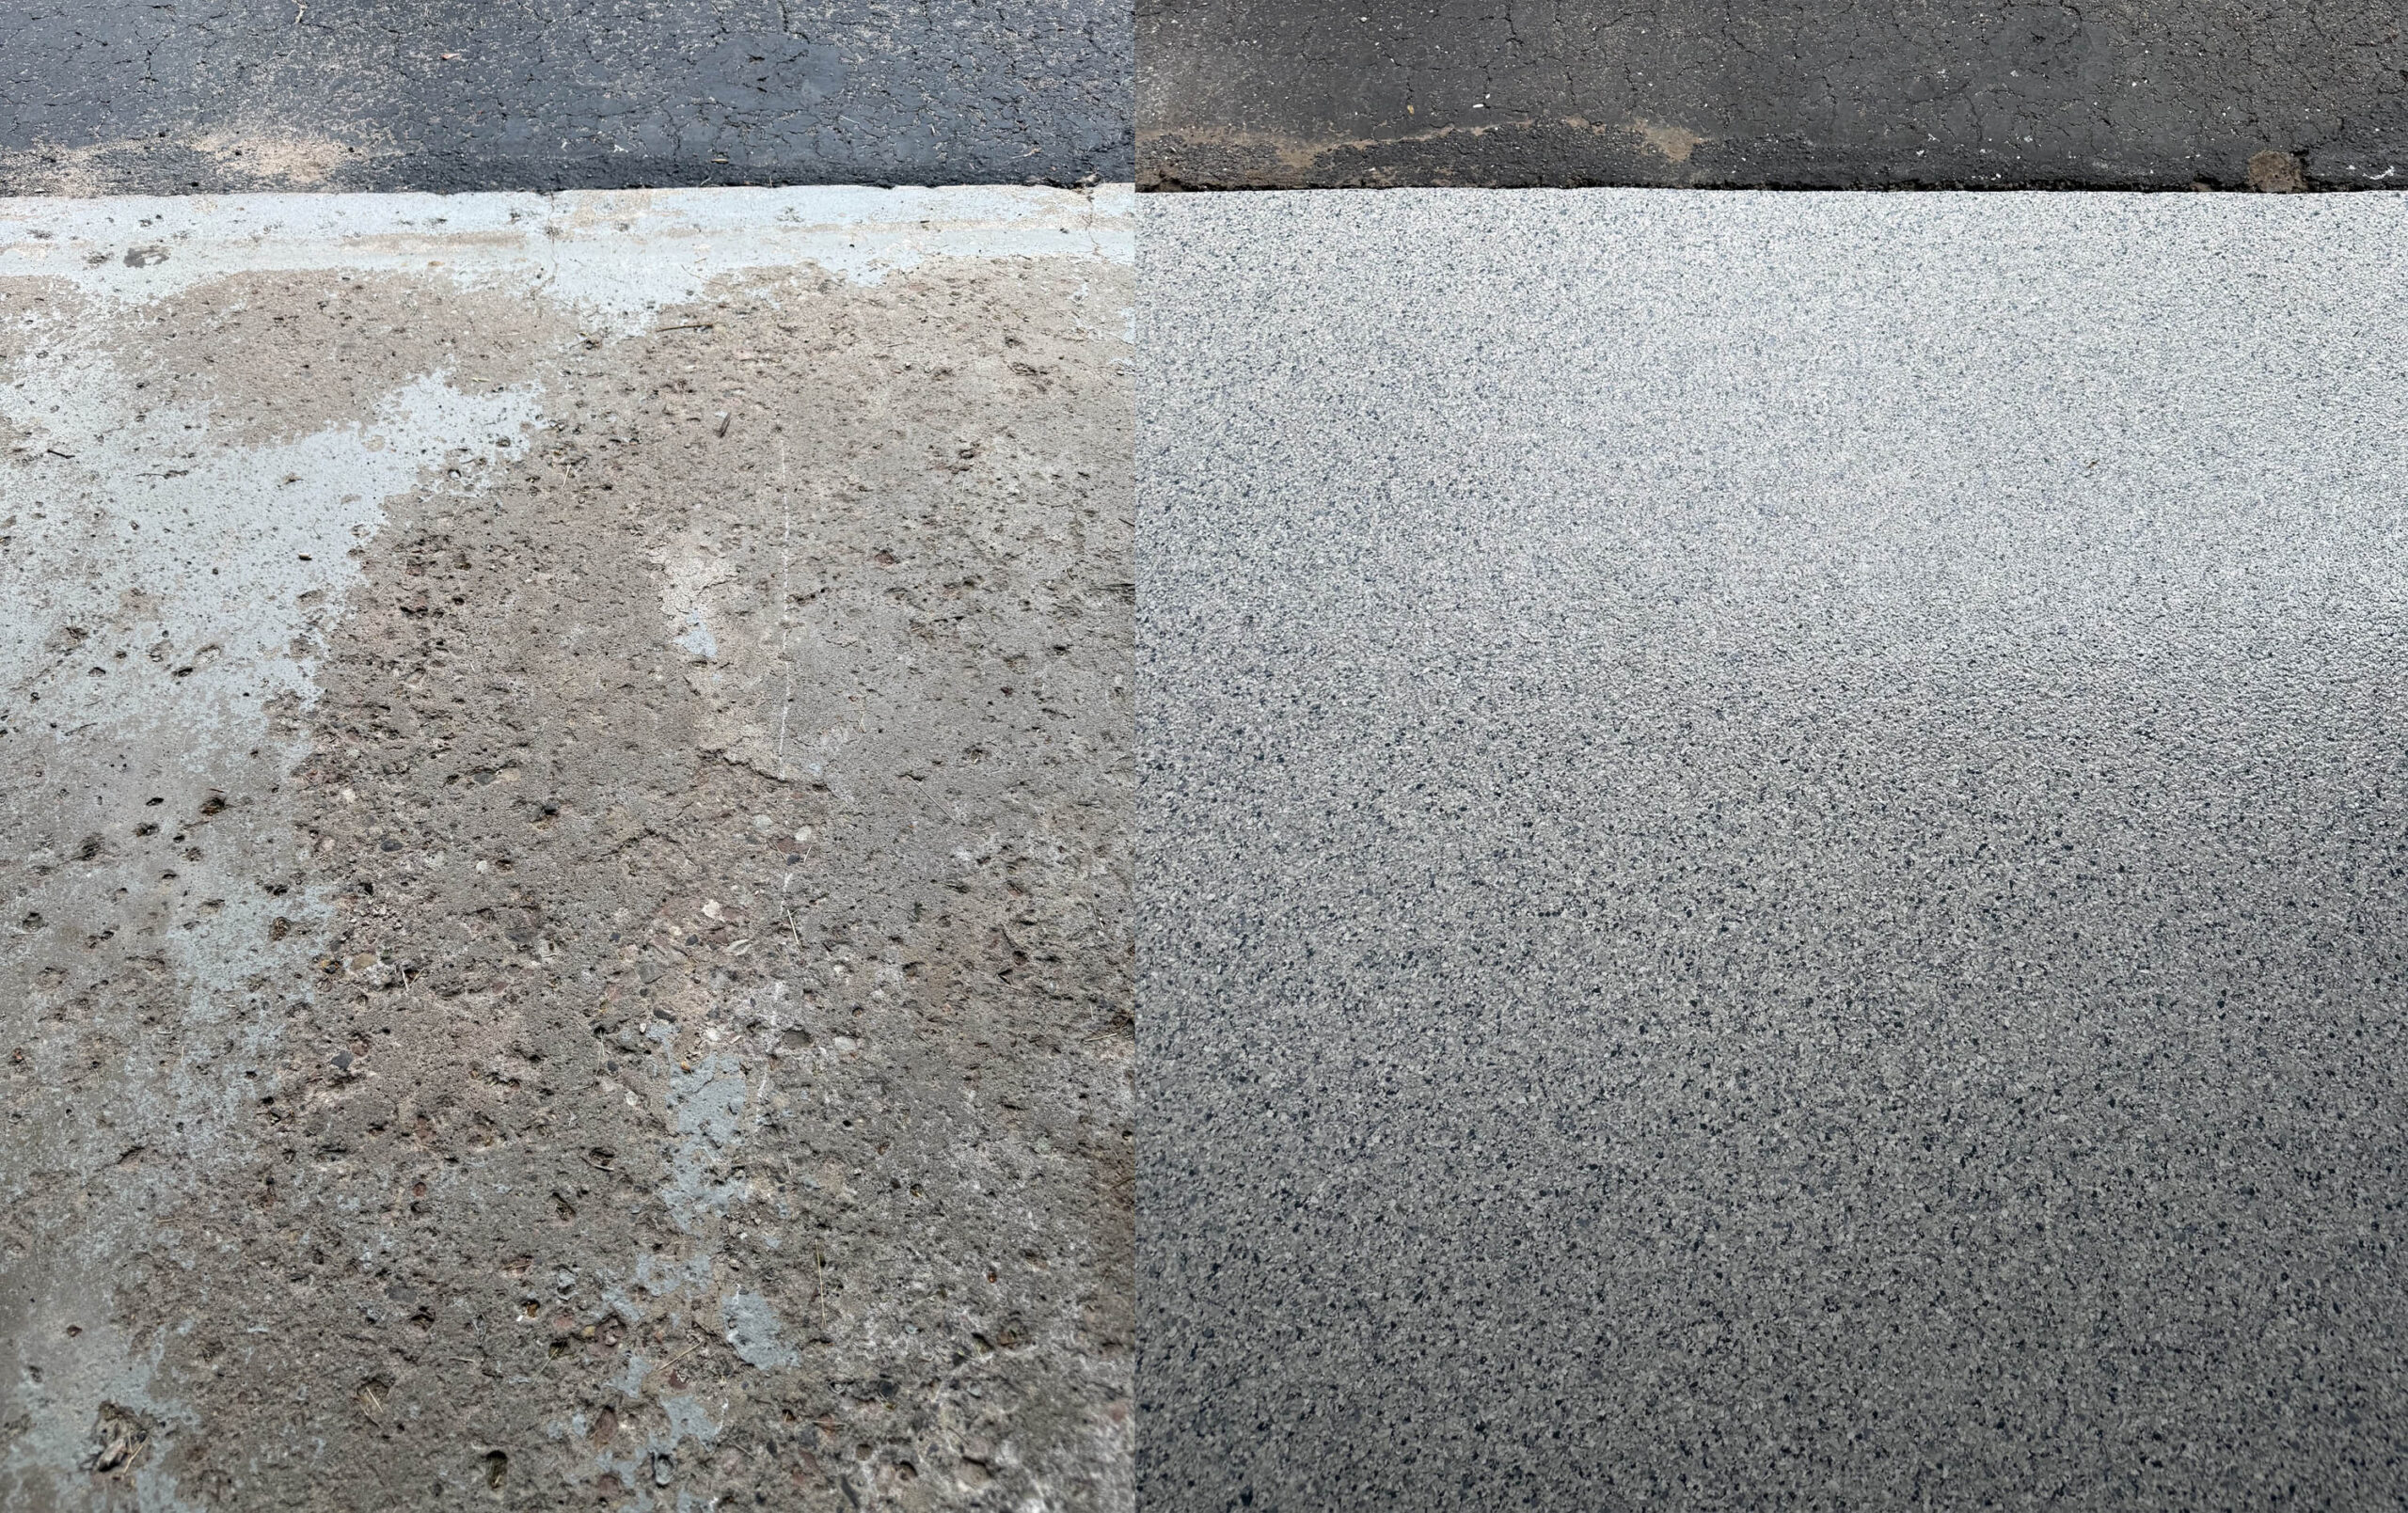
Rochester winters follow your car into the garage. A properly prepared coating helps protect the surface from road salt and winter moisture while making residue easier to clean.
BEFOREAFTER
A lasting floor starts with preparation.
We tailor the work to the concrete we find. For a garage with cracks and pitting, the preparation can include these steps before the coating is applied:
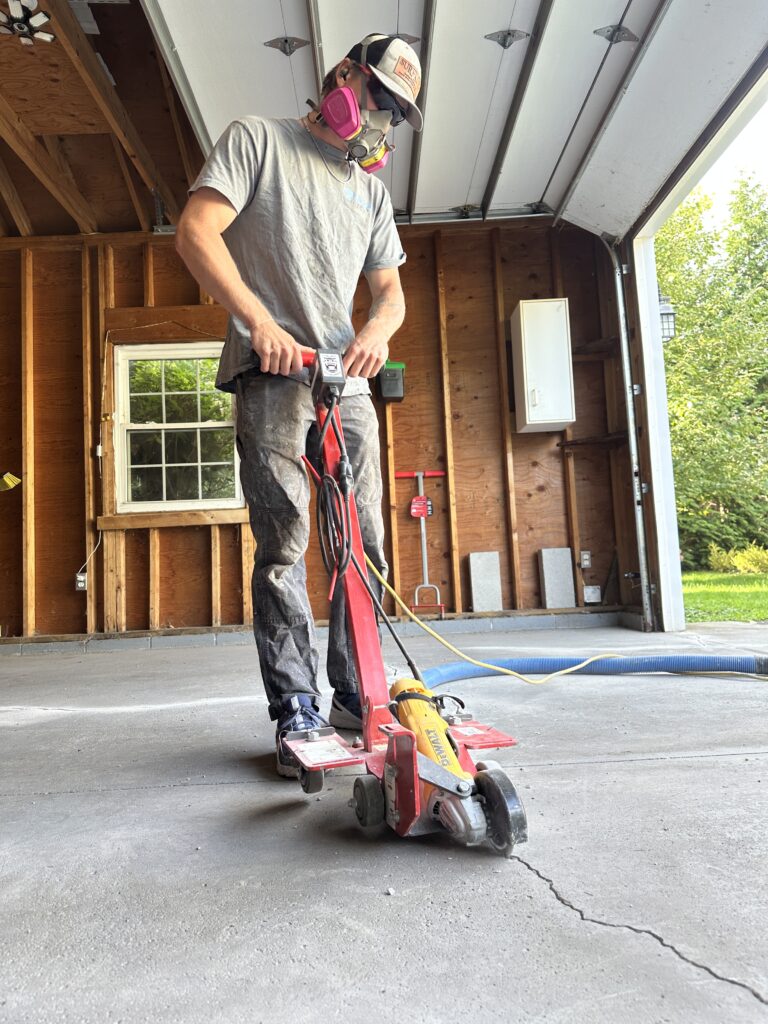
Aidan preparing a concrete crack for repair · Rochester, NY
1. Open and repair cracks
We cut open the cracks, clean out loose material and debris, and patch them with repair material.
2. Clean out pitted areas
We shot blast pitted concrete to remove dirt, debris, and loose material from the pores and damaged areas, giving the patch material a clean surface to bond to.
3. Rebuild the damaged surface
We trowel patch material into the prepared pitting and damaged areas to restore a more even surface before coating.
4. Grind and clean the floor
We diamond grind the entire floor surface, including the edges, then thoroughly vacuum it to create a clean, properly prepared surface ready to accept the coating.
If the concrete needs work beyond what a coating system can reasonably address, we’ll discuss that with you during the assessment.
Why concrete condition affects the price.
Square footage is only part of the quote. Two garages of the same size can require very different amounts of preparation. A sound, clean slab generally needs less repair work than concrete with widespread cracks, pitting, or an old coating to remove.
The condition we start with
We look at the extent and depth of cracks and pitting, surface deterioration, existing coatings, contamination, and any moisture concerns. More repair or removal work means more labor and material before the new coating can begin.
The scope you choose
Your floor area, standard or premium blend, and any apron, stem wall, stair, or control-joint work also shape the price. Your written quote explains the preparation and selected areas so you know what the price covers.
Make the details part of the plan.
Your quote can include more than the main garage floor. We’ll review these areas with you and spell out what is included before installation.
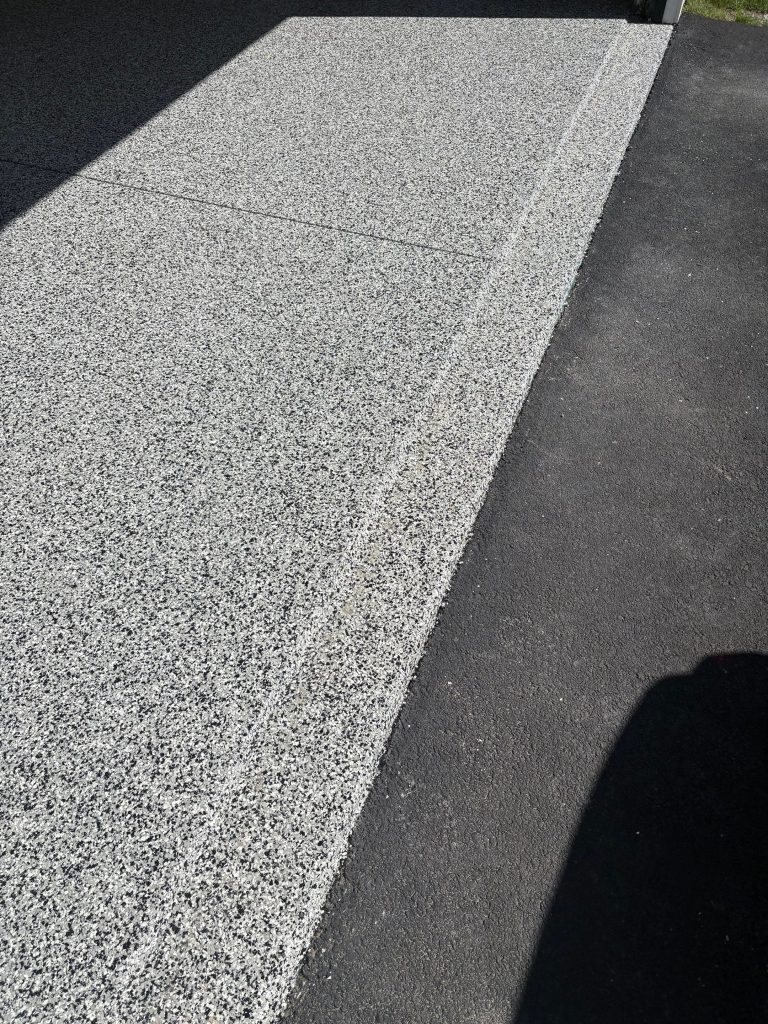
Apron
The strip of concrete just outside the garage door. Coating the apron can carry the finished look toward the driveway. We assess its condition and outdoor exposure separately from the interior floor.
Coated apron outside the garage · Victor, NY
Stem walls
The short concrete walls around the base of your garage. Extending the flake finish up these walls creates a coordinated edge and covers the exposed concrete around the perimeter.
Exposed stem wall before coating
Stairs
Include the steps and risers leading into your home for a more complete look. We review their condition, the areas to be coated, and a suitable surface texture for foot traffic.
Flake-coated step and risers
Control joints: there for a reason.
We generally recommend leaving control joints recessed rather than filling them flush. These grooves create a deliberate weak point in the slab, encouraging shrinkage cracks to form beneath the joint instead of randomly across the floor. If a crack develops, our goal is for it to show at the bottom of the joint’s valley, where it is less noticeable than on the main floor surface.
We carry the coating down one side of the joint, through the valley, and back up the other side. The coating follows the concrete’s profile, keeping the groove defined instead of covering it with a flat bridge.
How the coating follows the joint
Coating follows the surface — down, through the valley, and back up.
The joint stays recessed — it is not filled level with the floor.
Intended crack location — beneath the valley, if a shrinkage crack develops.
Simplified cross-section; joint shape and coating thickness are exaggerated for clarity. Concrete movement can still crack the coating, including within the joint.
Find your flake blend.
Compare standard and premium colors below. We’ll help you confirm your favorite with physical samples at your estimate.
From your first call to a clear quote.
1. Tell us about your garage
Book an estimate or request a call. Share your location, approximate garage size, and what you’d like to change.
2. Walk the space with us
At the on-site visit, we measure the floor, inspect the concrete, and review cracks, pitting, existing coatings, and the optional areas you want included.
3. Choose your finish and scope
Compare standard and premium flake samples, choose a color, and decide on apron, stem wall, stair, and control-joint work.
4. Review your written quote
We put together the preparation, coating system, selected areas, and price for your review. Once you accept, we’ll work through the next steps for scheduling and installation.
YOUR NEXT STEP
Let’s talk about your floor.
Ready to see what your garage could become? Let’s review the concrete, compare flake samples, and build a clear plan for your floor.